Dynamic Host Configuration Protocol (DHCP) is a service which distributes IP address for different devices across a network. It makes sure that each device in your network is assigned with a unique IP address. Generally, it is considered to be a safe and reliable configuration.
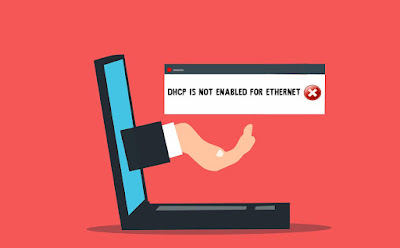
Under normal circumstances, your router will act as a DHCP server. DHCP is not enabled for ethernet is a warning message displayed in the windows troubleshooter when attempting to connect to a network. Thus, the users will be restricted access to the internet. What this error means is that the DHCP server is not running in your ethernet connection making it unable to assign an IP address. Despite how complex this error seem to appear, it is relatively easy to fix.
In this article, I will be addressing about the 4 Ways to Fix DHCP is Not Enabled for Ethernet. This tutorial will help you get rid of this error and make sure internet connection work back normal.
Let's get started,
1. Enable DHCP Client
As mentioned earlier DHCP client service assigns devices with new IP addresses and takes care of DNS records. Once the DHCP client service stops working, all the connected computers will fail to receive the appropriate IP address. Due to this, you will encounter the error DHCP is not enabled for ethernet.
One reason for your DHCP client service to stop working is if it is disabled. So you have to make sure that the DHCP client service is enabled.
To enabled DHCP client service,
- Press '' Windows + R ''
- Type '' services.msc ''
- Find DHCP Client and Select it
- Change Startup type to '' Automatic ''
- Save the changes
2. Reset Network
Another method to solve DHCP is not enabled for ethernet is through resetting the network configurations. By resetting the network configurations, you are exchanging the currently used IP address by means of requesting new one from the DHCP servers.
To reset network,
- Press '' Windows + R ''
- Type '' cmd '' Right click on it and Choose Run as Administrator
- Type the command and Press Enter
ipconfig /renew
After resetting the network, restart the computer to see if the issue persists
3. Update Network Driver
There is also a chance for this error to appear if your network drivers are outdated. An outdated network drivers cause problems while receiving a new IP address. Therefore, having the latest network drivers will instantly fix the problem. Windows comes with a system of Device Manager which automatically updates problematic drivers.
To update network drivers,
- Press '' Windows + R ''
- Type '' devmgmt.msc ''
- Expand the option '' Network Adapter ''
- Right click on '' installed network adapter ''
- Choose '' Update Driver ''
4. Restart Router
Most often in home and small networks, your router will probably act as a DHCP server. In this case, any problems in the router can result in an error message. One such problem is Power Outages. However, a simple restart to the router usually fixes problems.


No comments:
Post a Comment