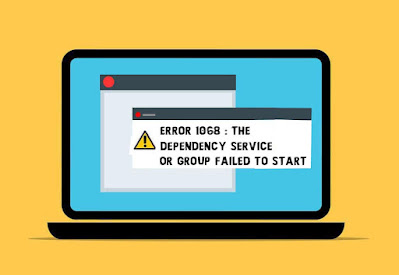
Windows operating system depends on lots of services for its operations. One of the most common errors windows users come across is the '' The dependency service or group failed to start ( Error 1068 ) ''. In simple words what this error means is that the service was unable to begin.
Usually this type of error prevents connecting to the internet ( Regardless of any means Wifi or Ethernet cable ). If this is the first time you are experiencing this error, you can try restarting the PC. Otherwise, you can go with the following solutions. Furthermore, this error varies from case to case. This post deals with the case of,
'' An error occurred while internet connection sharing was being enabled ''
'' Windows could not start the World Wide Web Publishing Service on Local Computer ''
Despite how complex this error is, users affected by this issue is fortunate enough to fix this. Users generally can solve this problem using some troubleshooting steps. Before attempting these methods make sure to back up your files. In case to prevent consequences of data loss.
In this article, let's look at the 5 Ways to Fix The Dependency Service or Group Failed to Start in Windows. As soon as the error is resolved you can connect to the internet back again.
Let's get started,
1. Perform SFC Scan
Another reason for dependency service or group failed to start is the missing or corruption of nlasvc.dll files. nlasvc.dll is a type of DLL file which gather information and configurations related to the network. Once this file starts malfunctioning, the services relying on it will also stop working. So in order to repair nlasvc.dll, you can try running SFC scan.
To perform SFC Scan,
- Go to Start
- Type '' cmd '' and right click on it
- Choose '' Run as Administrator ''
- Type and press Enter after the command
'' SFC/Scannow ''
2. Update Network Drivers
In some cases, the culprit might be the network adapter driver. Drivers are essential part of the computer system which allows hardware and software to communicate with each other. If the network drivers are outdated or start malfunctioning, your device can no longer connect to the internet.
For this the recommended solution will be to update network adapter drivers. For updating network drivers you can depend on the device manager or directly visit the manufacturer website.
3. Enable Dependency Service
This error message indicates a problem with the dependency services. Mainly if the related dependency services are disabled. Therefore, these services require you to manually start the dependencies.
To enable dependency services,
- Go to Start Menu
- Type '' system configuration ''
- Double click on System Configuration App
- Check the boxes,
- Application Layer Gateway Service
- Network Connections
- Network Location Awareness (NLA)
- Plug and Play
- Remote Access Auto Connection Manager
- Remote Access Connection Manager
- Remote Procedure Call (RPC)
- Telephony
6. Restart PC
4. Edit Registry Key
Corruption of windows registry can lead to this error. The registry is a part of your computer where information and values related to your PC are stored. Hence, it needs immediate repairing. But you need to be careful with this process because one wrong move can result in system collapse.
To edit registry key,
- Press '' Windows + R ''
- Type '' regedit ''
- Go to HKEY_LOCAL_MACHINE → SYSTEM → CurrentControlSet → Services → Dhcp
- Select '' DependOnService ''
- Delete all the Value data
- Press Ok
- Restart PC
5. Reset TCP/IP
Misconfigurations of TCP/IP can also trigger this error dependency service or group failed to start. In an attempt to fix this, you need to reset TCP/IP settings.
To reset TCP/IP,
- Go to Start
- Type '' cmd '' and right click on it
- Choose '' Run as Administrator ''
- Type and press Enter after the command
'' netsh int ip reset ''


No comments:
Post a Comment